Hello! In this post, I will explain the cost-effective method I use to host my Go web applications with varying levels of complexity, all starting from as low as $5 per month. This method also allows to easy deploy and scale your golang application.
As an example, this is how I host whattoreadafter.xyz, a service that recommends books based on the book you just finished reading, by using AI.
Starting off, let’s enumerate the tools we’ll be using alongside Golang:
- DigitalOcean - a cloud computing platform that provides virtual machines and other resources.
- Docker - a set of platform as a service products that use OS-level virtualization to deliver software in packages called containers.
In order to follow along, you will need to have a DigitalOcean account. If you don’t have one, you can sign up here and get $200 in credit over 60 days.
Let’s get started! For simplicity sake, our application will be a simple web server that returns current time in UTC format.
package main

import (
	"fmt"
	"net/http"
	"time"
)

func currentTimeHandler(w http.ResponseWriter, r *http.Request) {
	currentTime := time.Now().UTC()
	fmt.Fprintf(w, "Current Time (UTC): %s", currentTime.Format(time.RFC3339))
}

func main() {
	http.HandleFunc("/", currentTimeHandler)
	fmt.Println("Server is running on port 8080")
	http.ListenAndServe(":8080", nil)
}
Now let’s host it!
In order for you to easier follow along, I will list the steps we will take to host our application:
1. Prepare a Dockerfile for our application and place it in the root of our project alongside the main.go file.
Example:
FROM golang:alpine AS builder
RUN apk add --no-cache --update \
        git \
        ca-certificates
ADD . /app
WORKDIR /app
COPY go.mod ./
RUN  go mod download
RUN CGO_ENABLED=0 GOOS=linux GOARCH=amd64 go build -a -o /main .

FROM alpine
COPY --from=builder /main ./
RUN chmod +x ./main
ENTRYPOINT ["./main"]
2. Push your code to a GitHub repository. You can make it private if you want.
3. Go to DigitalOcean and create a new App. You can do so by clicking on the “Apps” tab in the left sidebar and then clicking “Create App”.
4. Select “GitHub” as your “Source” and click “Continue”.
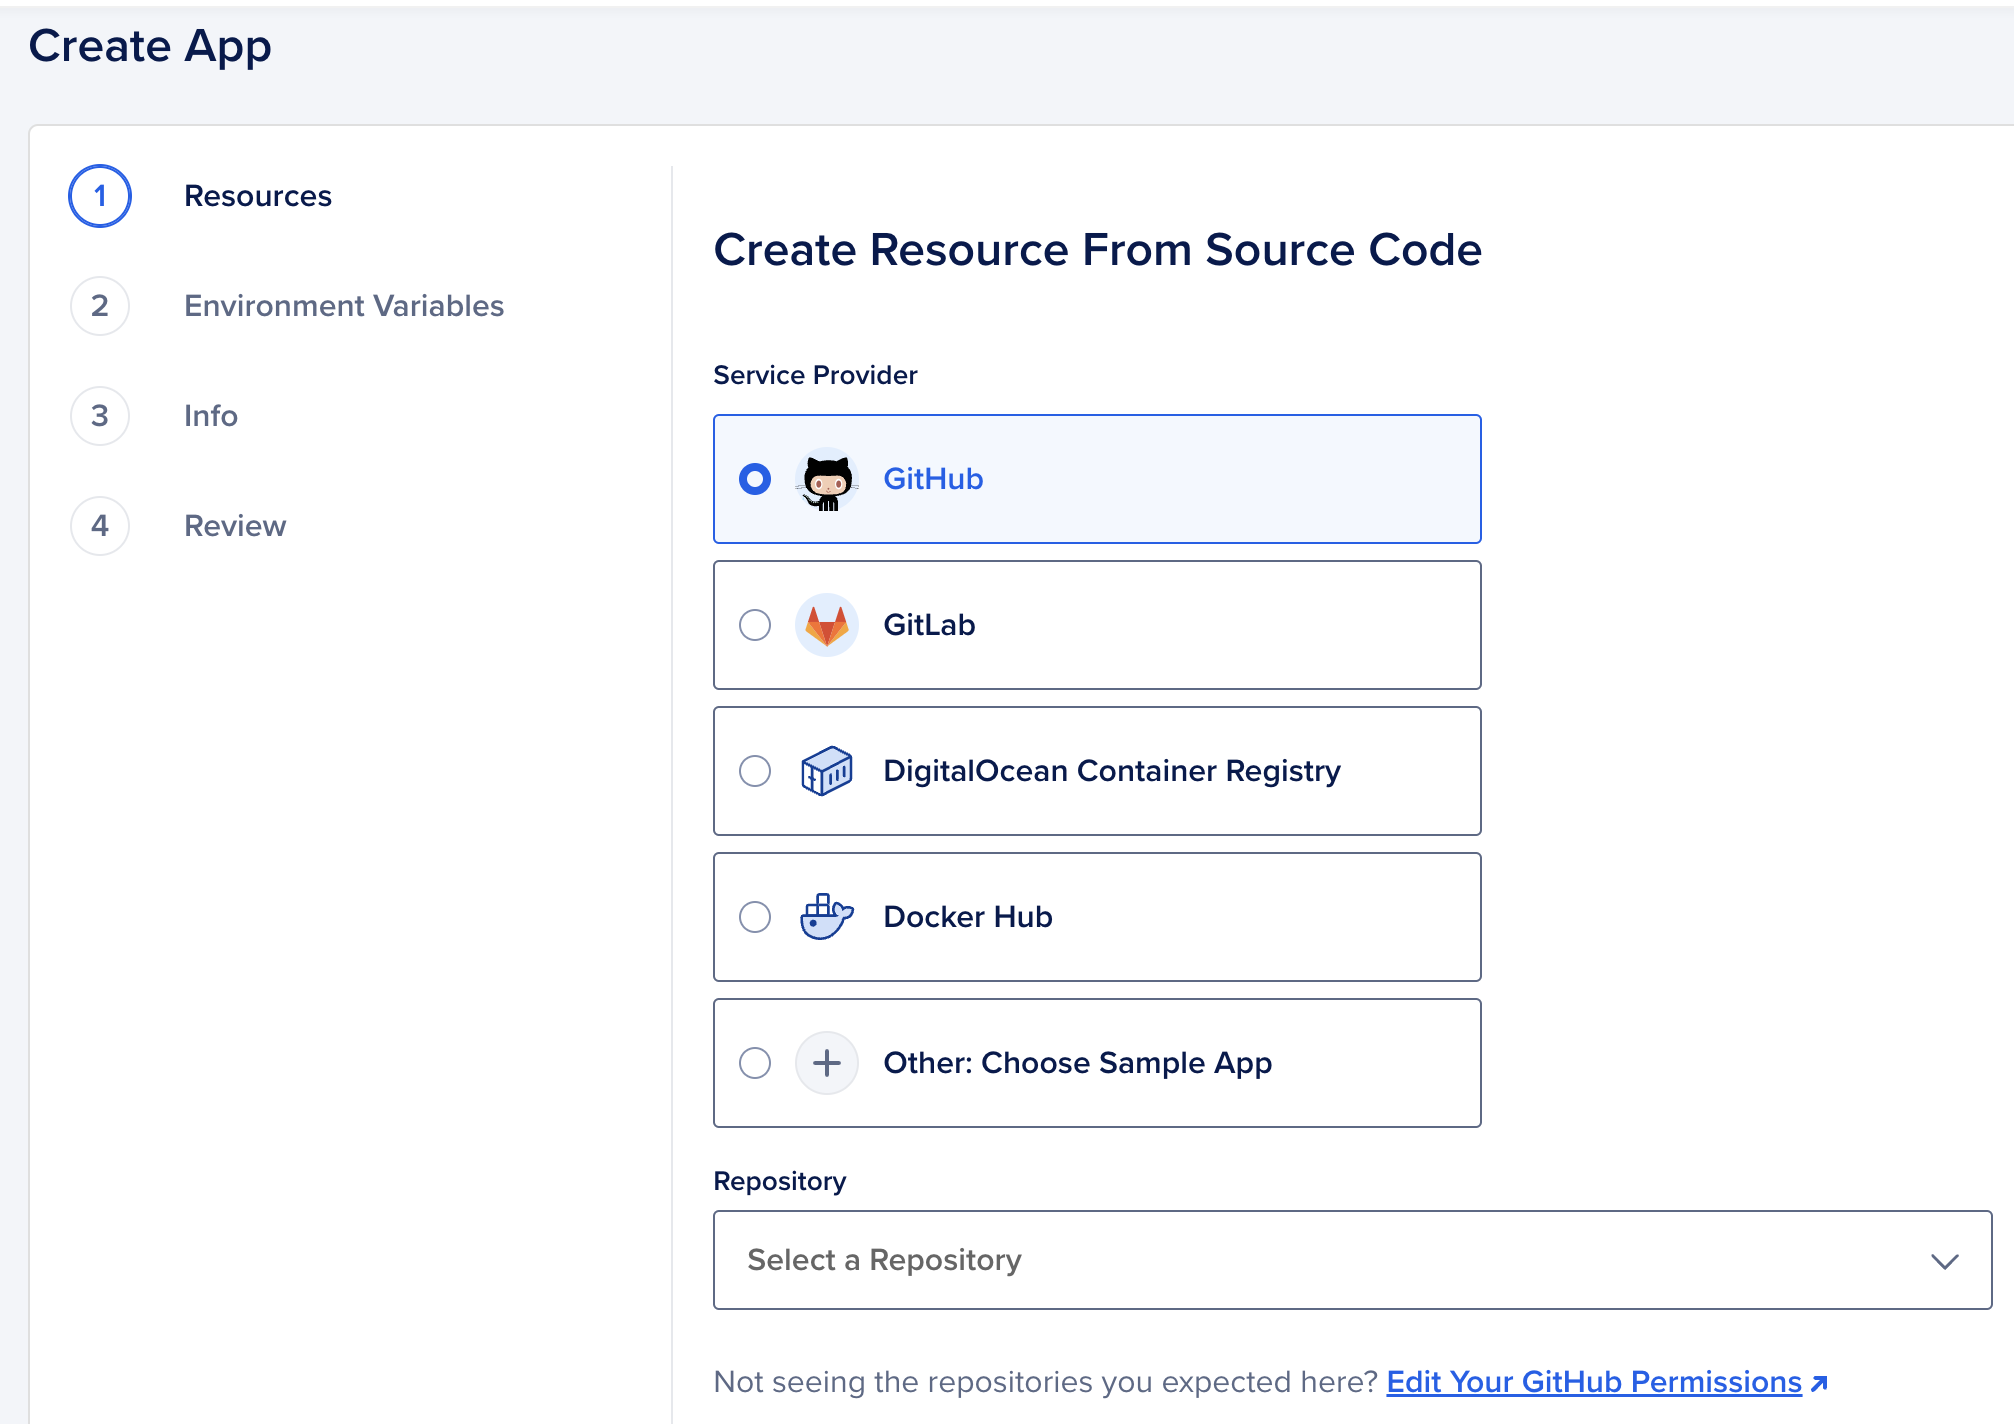
5. Select the repository you want to deploy and click “Next”.
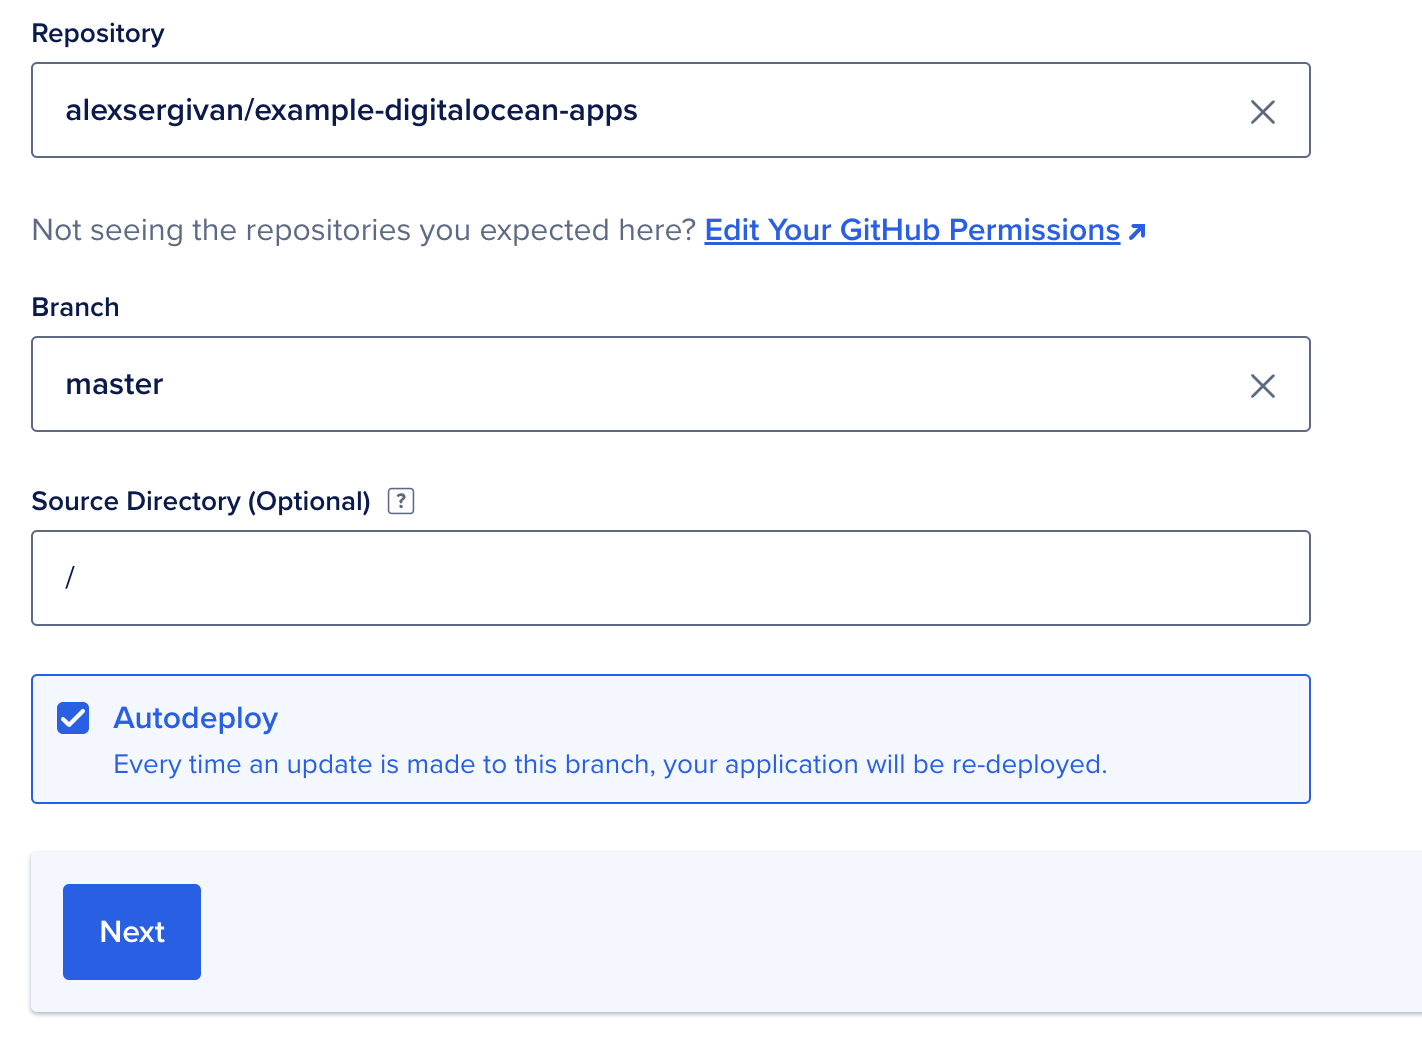
6. Select “Dockerfile” as your “Build type” and click “Next”.
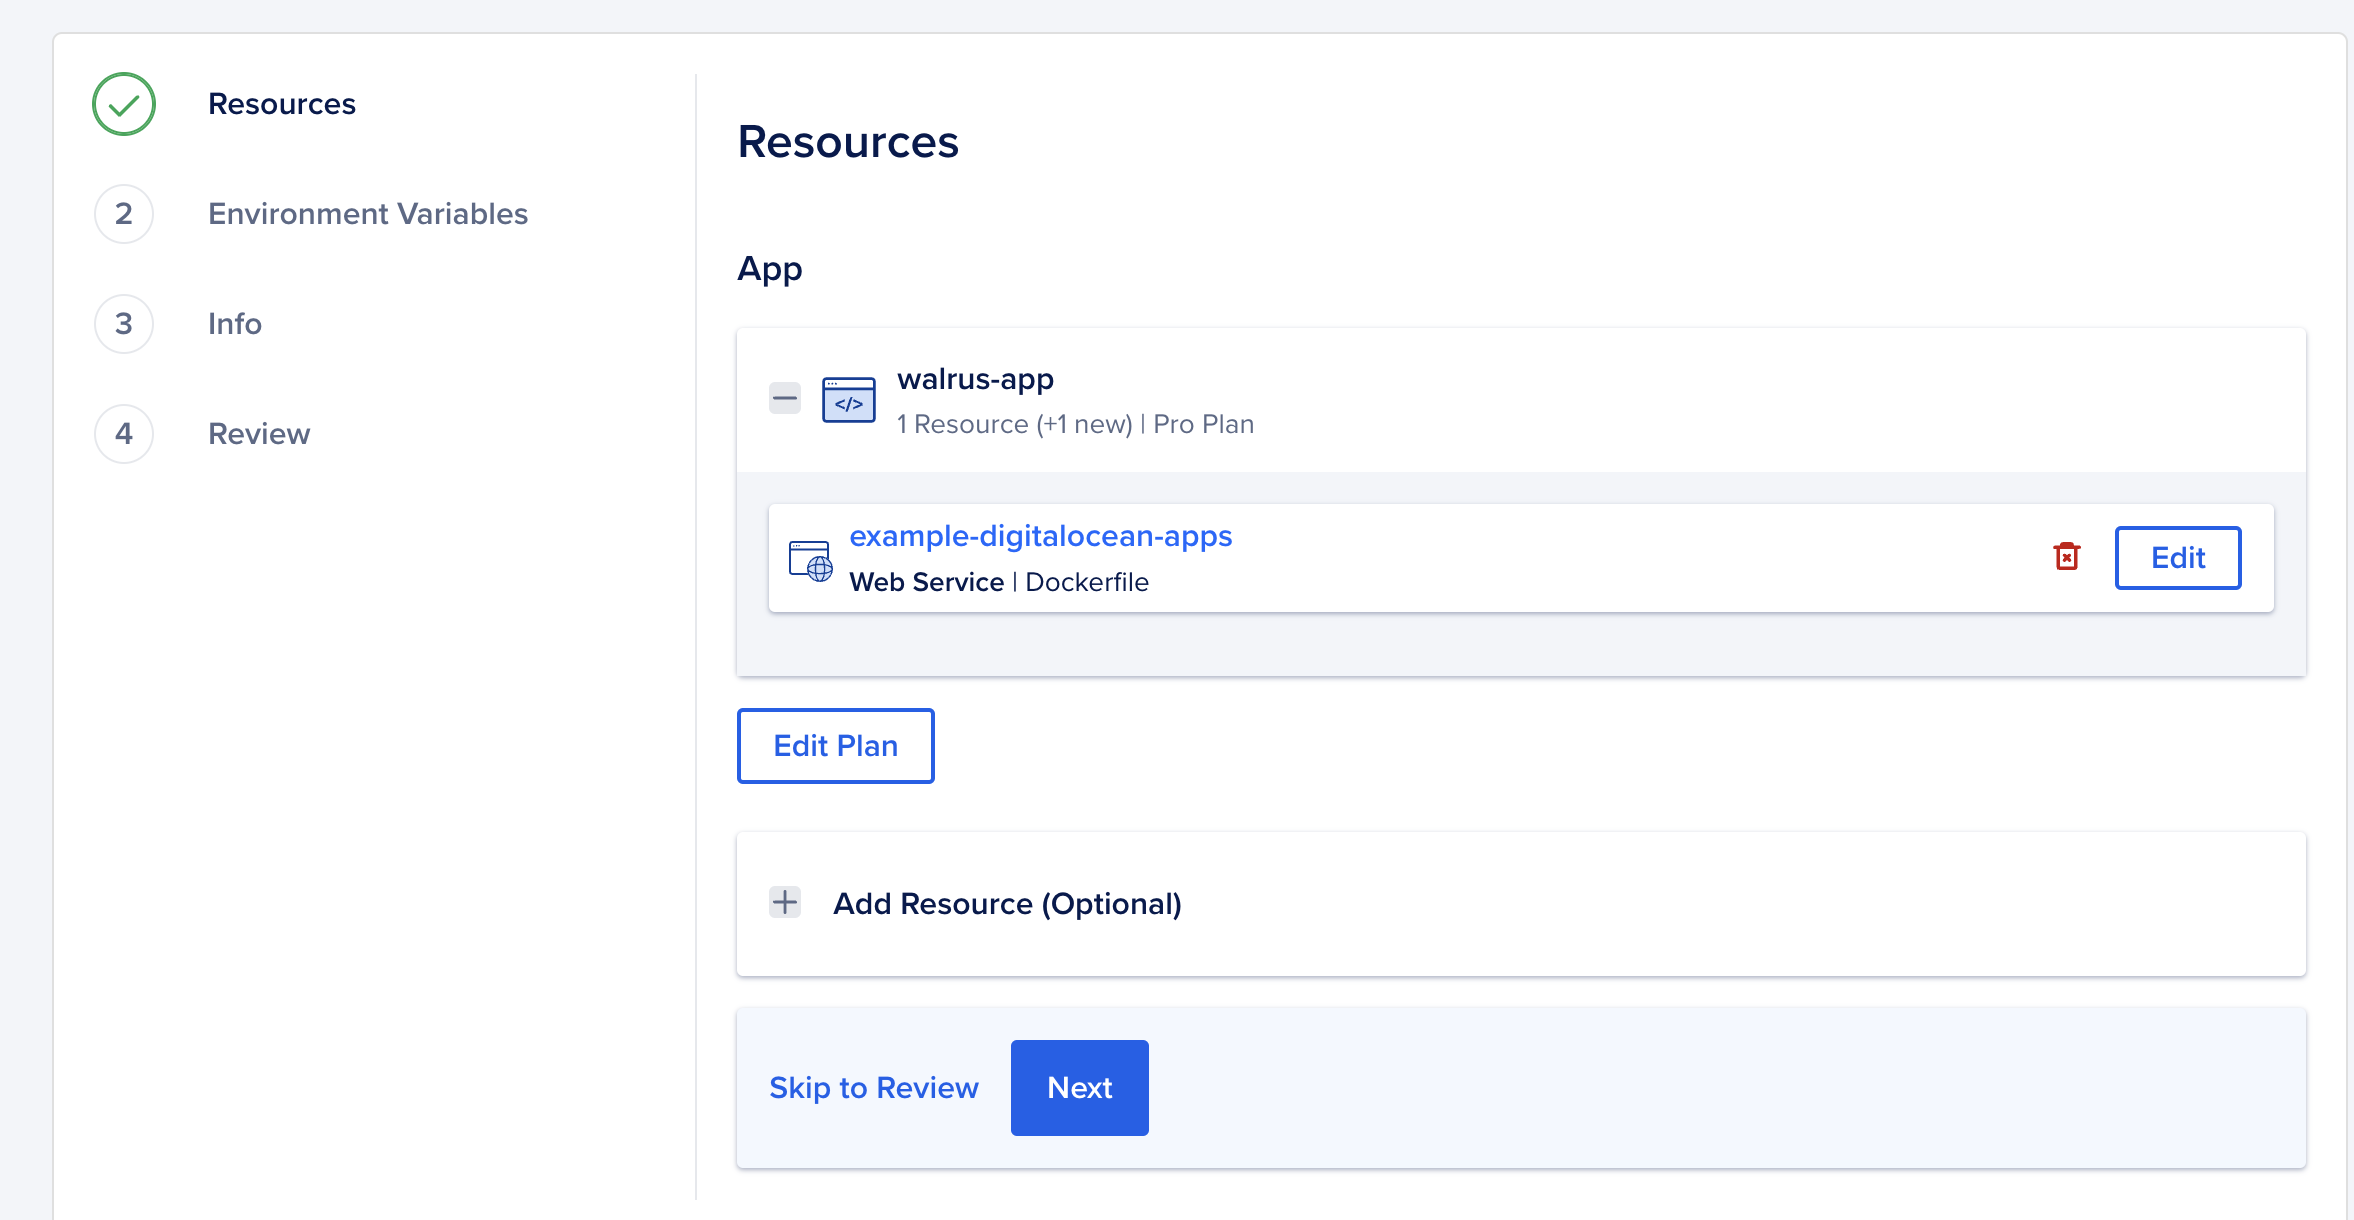
7. Configure environment variables if you need to and click “Next”.
8. Select region for your app and click “Next”.
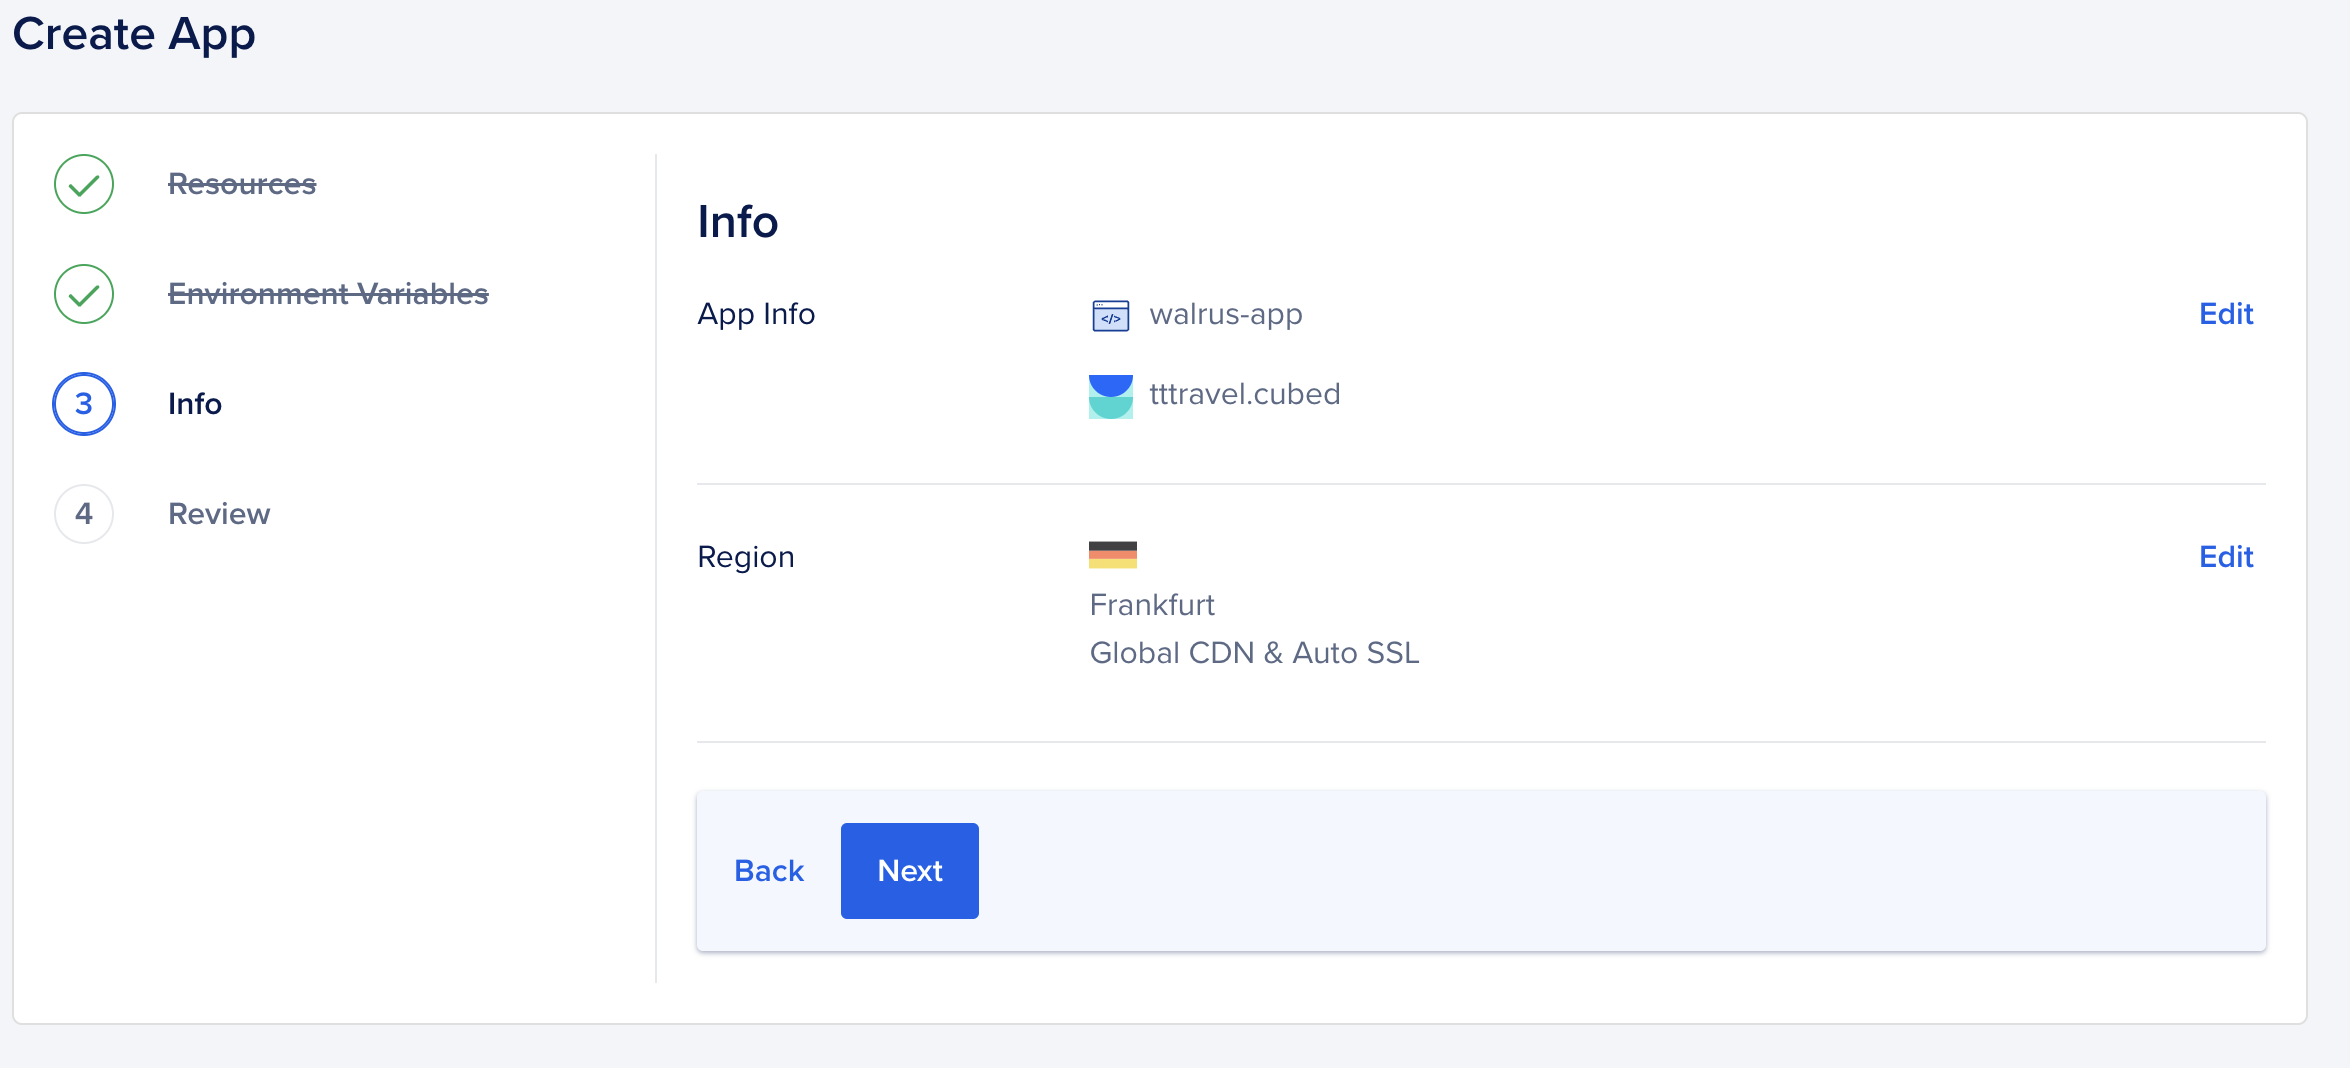
9. In the billing section, select the plan you want to use. You can start with the $5 per month plan and scale up later if you need to.
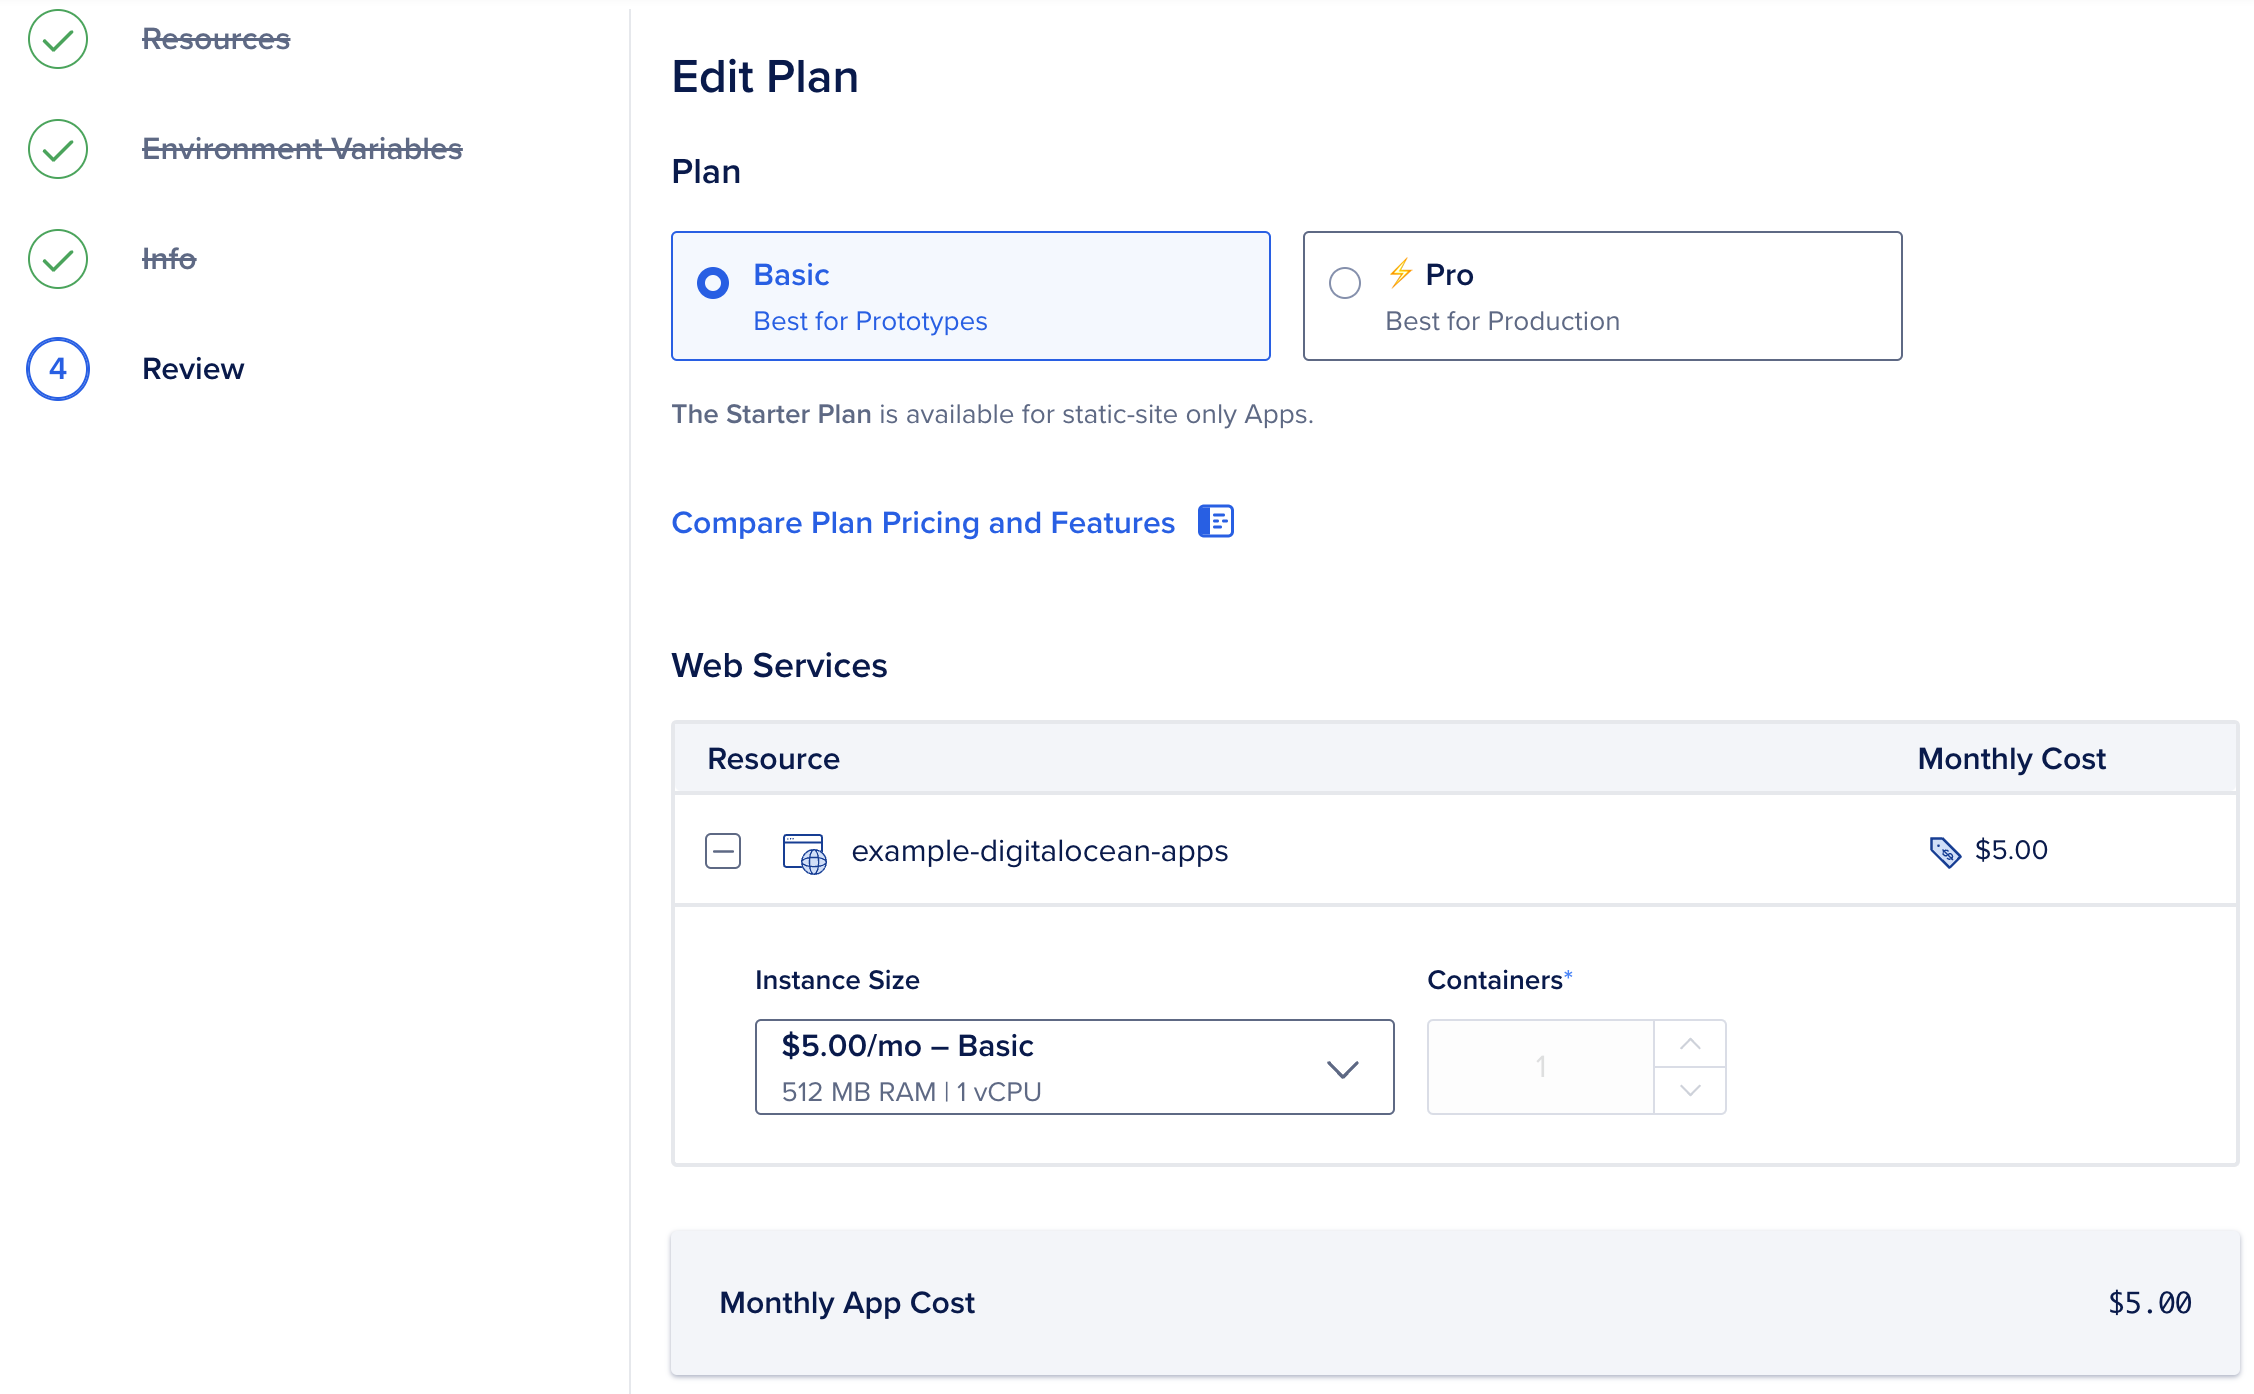
10. Click “Create Resources” and wait for your app to be deployed.
11. Once your app is deployed, you can access it by clicking on the “Live App” link.

That’s it! You have successfully deployed your Golang application!
You can also add your own domain name to your app by clicking on the “Settings” tab and then clicking on “Domains”.
Now, every time you push a new commit to your repository, DigitalOcean will automatically build and deploy your application. This is a great way to host your Golang applications, especially if you are just starting out and don’t want to spend a lot of money on hosting.
Thank you for reading! If you have any questions, feel free to reach out to me on Twitter.


